
Business Card Size and Layout Guide
Your business card is often your first introduction to potential clients. The way you arrange your information can make it simple or frustrating for people to contact you. In this article, you will learn the importance of business card layouts and dimensions. We’ll help you create a card that people will actually use and keep.
Related article: Professional Business Card Printing
Standard Card Sizes
Let’s start with the basics: picking the right size for your card. This decision affects everything from how much information you can include to whether people will keep your card.
Regular Rectangle Cards
The standard business card (3.5 x 2 inches) remains the most practical choice for most businesses. Here’s why this size works so well:
- Fits perfectly in wallets and business card holders
- Gives you enough room for all your important details
- Works with standard office equipment (like scanners)
- Costs less to print than custom sizes
- Makes the best use of paper during printing
Pro Tip: When designing for this size, leave 1/8 inch space around the edges (called a “safe zone”) to prevent important information from getting cut off during printing.
Other Popular Sizes and Their Uses
| Card Type | Dimensions | Best Uses | Things to Consider |
|---|---|---|---|
| Square | 2.5 x 2.5 inches | Art galleries, photographers, designers | Stands out but may not fit standard holders |
| Mini | 3.5 x 1.5 inches | Quick contact cards, event follow-ups | Limited space but very portable |
| Folded | 3.5 x 4 inches (folded) | Service lists, price guides, maps | More space but higher printing costs |
Planning Your Layout
A good layout guides the reader’s eye to your most important information first. Let’s break down what you need and where to put it. Check out our Business Card Design Guide for more detailed info.
Essential Information Checklist
Primary Details (Always Include):
- Name (make it 2-3 points larger than other text)
- Job title or professional credentials
- Company name and logo
- Phone number
- Email address
Secondary Details (Include if Relevant):
- Physical address
- Website URL
- Professional license numbers
- Social media handles
- QR codes for digital profiles
Smart Information Placement
Your card should flow logically. Here’s how to arrange your information:
| Card Section | What Goes Here | Size Guidelines |
|---|---|---|
| Top Third | Logo and company name | Logo: 0.5-0.75 inches |
| Middle Third | Your name and title | Name: 10-12 point font |
| Bottom Third | Contact information | Contact info: 8-9 point font |
Pro Tip: Keep your font size above 8 points. Anything smaller becomes hard to read, especially in low light.
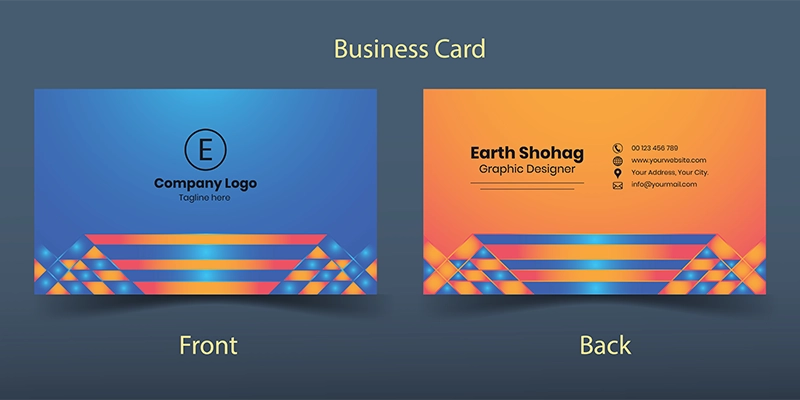
Front and Back Options
Single-Sided Cards
A single-sided card can work great if you:
- Need to keep costs down
- Have just a few key contact points
- Want people to find your info quickly
- Write notes on the back
Design Tips for Single-Sided Cards:
- Group similar information together
- Use white space effectively
- Create clear sections with subtle lines or spacing
- Place your most-used contact method where it’s easy to spot
Double-Sided Cards
Using both sides gives you room to tell your full story. Here’s how to make the most of it:
Front Side Essentials:
- Company branding
- Your name and title
- Primary contact method
- Professional photo (if needed)
Back Side Options:
- Additional Business Information:
- Complete service list
- Business hours
- Service areas
- Appointment booking info
- Digital Integration:
- QR code linking to your:
- Digital business card
- Website
- Portfolio
- Booking system
- Marketing Elements:
- Special offers
- Referral programs
- Social proof snippets
- Mission statement
Layout Tips By Business
Real Estate Agents
Your card needs to build trust and showcase properties:
Front Layout:
- Professional headshot (upper right, 25% of space)
- Name and credentials (center)
- Company logo (upper left)
- License number (required by law)
Back Layout:
- Property types you handle
- Service areas with zip codes
- QR code to current listings
- Client testimonial snippet
Tech Companies
Your card should reflect your digital expertise:
Front Layout:
- Company logo and branding
- Your name and specialization
- Core technical skills
- GitHub username
Back Layout:
- QR code to portfolio
- Key projects or products
- Technical certifications
- Digital platforms you use
Service Businesses
Focus on making it easy to book your services:
Front Layout:
- Clear business name
- Your name and expertise
- Main services (top 3)
- Best contact number
Back Layout:
- Complete service list
- Service area map
- Business hours
- Booking instructions
Bottom Line
Now that you know how to create an effective business card layout, let’s put it all together. Here’s what you need to do next:
First, gather all your current contact information. Double-check that your phone number, email, and website are up to date. You don’t want to hand out cards with old information!
Then, think about how you use your cards:
- Do you often write notes on them? Consider a matte finish.
- Need to stand out at networking events? Try our premium paper stocks.
- Want to include a lot of information? A double-sided card might be perfect for you.
Remember to keep it simple. Your card doesn’t need to tell your whole story—it just needs to help people remember you and know how to reach you.
Ready to Order?
- Choose your card size and paper type
- Upload your design or use our templates
- Our team will review your layout for free
- Your cards will arrive at your Denver location in 3-5 days
The best part? Shipping is always free, and we’ll make sure your cards look exactly the way you want them to. Questions? Give us a call—we’re here to help you create business cards that get results.
Frequently Asked Questions
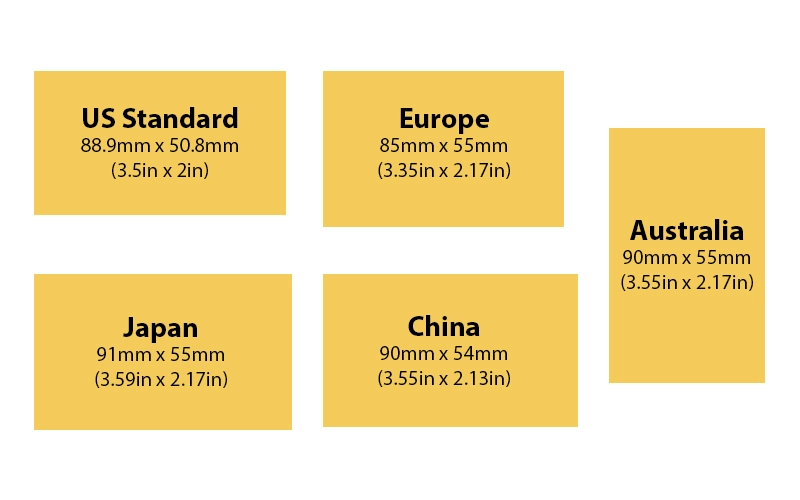
What is the standard size of business cards in the USA?
The standard size of business cards in the USA is 3.5 x 2 inches (89 x 51 millimeters). This size includes the final trimmed dimensions. When designing, add 0.125 inches of bleed on each side, making the total design size 3.75 x 2.25 inches.
How much margin should a business card have?
Business cards should have a minimum margin (safe zone) of 0.125 inches (3.175mm) from all edges. For text and important design elements, maintain a 0.25-inch margin from the trim line to ensure they don’t get cut off during production.
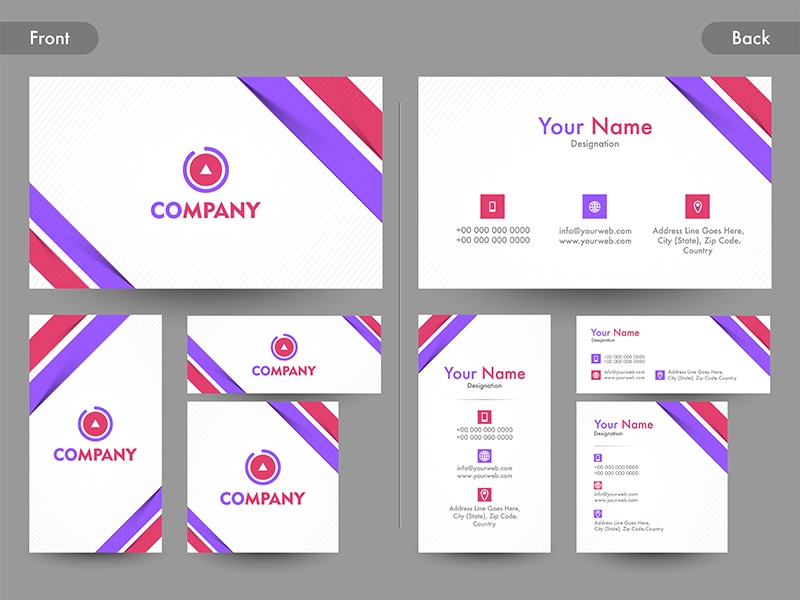
Which is better: vertical or horizontal business cards?
Both orientations work well depending on your needs. Horizontal (landscape) cards follow tradition and fit standard card holders better. Vertical (portrait) cards can stand out and work particularly well for minimal designs or when featuring a logo prominently.
Do business cards need bleed?
Yes, business cards need a bleed area if your design extends to the edges. Include 0.125 inches of bleed on all sides beyond the final card size. This prevents white edges from showing after trimming and ensures full coverage of color or design elements.


Pingback: Die Cut Business Cards Denver